You’ve finally found it, that perfect lot to build your dream home. You’ve budgeted, drafted and applied and you’ve got the financing and plans to make something happen.
Now the real work begins – building the actual house. If you haven’t already done so, take a look at“Part I – Foundation, Framing and Roof”. After you’ve got your house’s basic frame set up, it’s time to start making it feel more like a home.
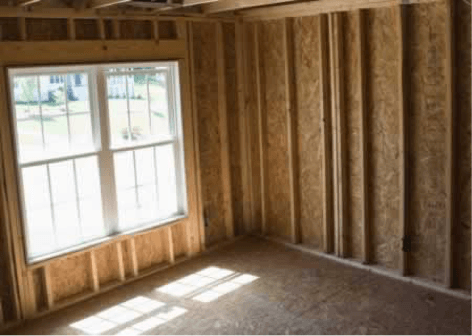
Windows installed.
Windows are installed in the framing stage to protect the interior of the home and enclose the shell from the weather.
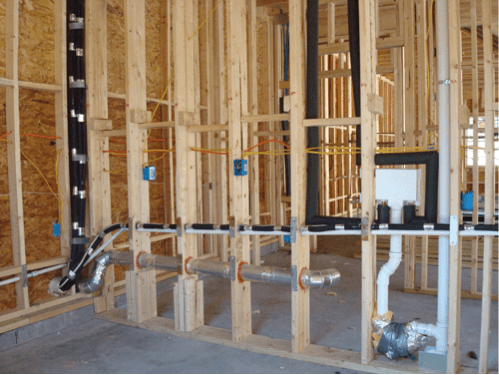
Plumbing is added.
Rough plumbing involves the installation of water and sewer pipes, vents and bathtubs throughout the framed shell of the home. Your plumber will set up pipes to facilitate the connections for toilets, faucets, water heather and drains in later stages of construction.
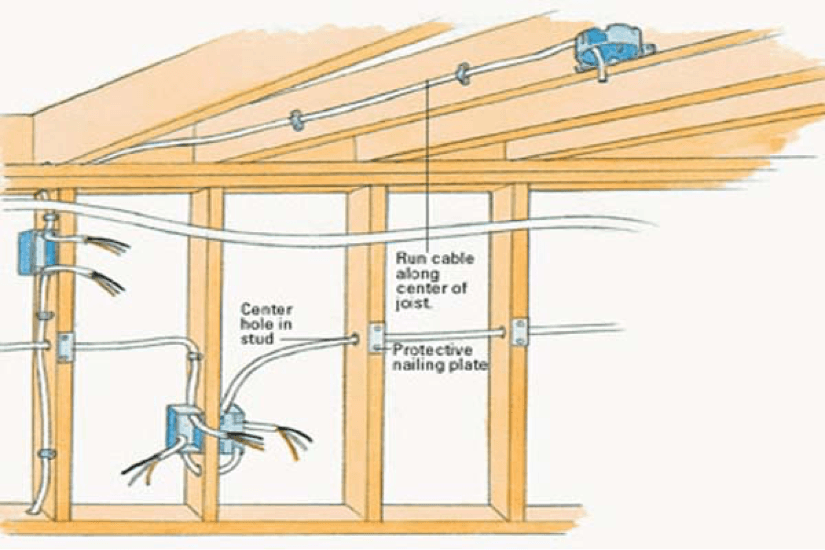
It’s electric!
After framing, but before the drywall is installed, there will be a rough-in stage of electrical installation when access is still available to the space between the studs, floor joists, and ceiling joists. Rough-in electrical installation involves the electrical wiring, boxes, fixture mounts, breaker panel, and sub panels. The installation of light switches, outlets, and fixtures will occur during the final phase as the construction work nears completion.
The builder will also install the HVAC (heating, ventilation and air conditioning) system during this phase of construction. The HVAC could involve simple baseboard electric heating, or could be a more complex heating system of oil, gas or passive heating.
An electrical inspection by the city or county is generally required of the electrical work. This is usually done prior to covering the work with drywall.
Installation and drywall are added.
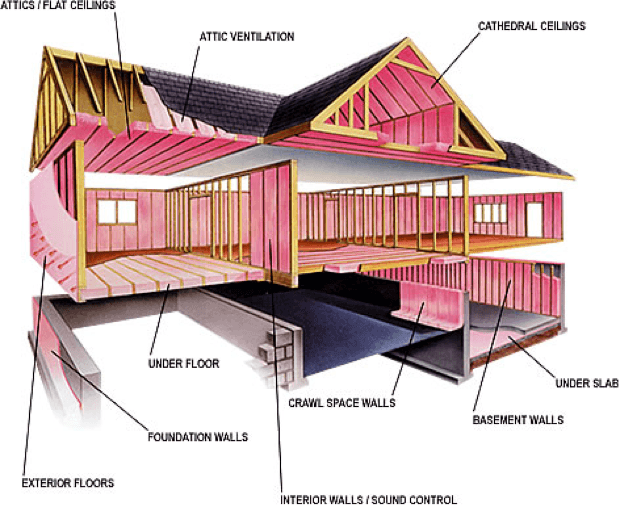
Next, the interior of the home is insulated with a synthetic material usually made from fiberglass. The interior insulation is used to cover, line or separate parts of the home to prevent or reduce the passage, transfer, or leakage of heat, electricity or sound.
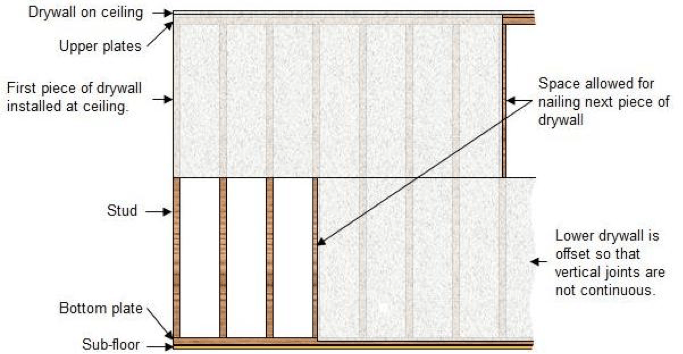
After the home’s insulated, then the drywall’s added. Drywall, sometimes known as sheetrock, plasterboard, wallboard or gypsum board, is used to make the interior-facing walls and ceilings. Installing drywall is often split between the installation of the large sections of wallboards, and the finished work involving “tape and mud” to hide the joints and cover the nail heads.
Interior work begins.
After the drywall is installed, the interior painting and finish work can be completed. This includes finishing electrical components and building shelving, woodwork, cabinets and installing new appliances. As the individual rooms are near completion, the different types of flooring are installed. This is usually done near the end of construction to reduce potential damage.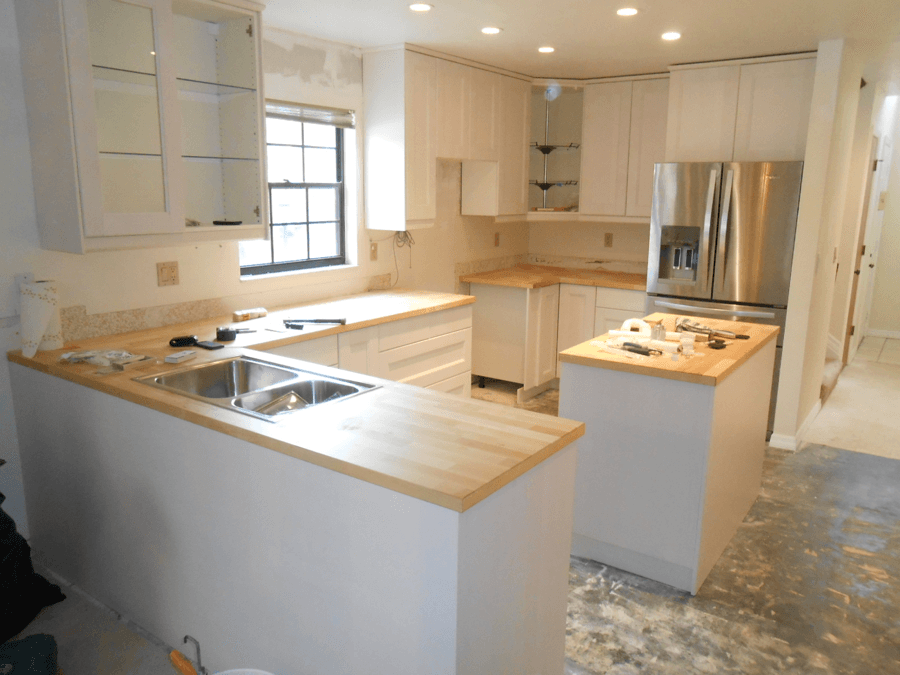
Exterior aesthetics are completed.
At this point, your custom home is probably livable! Exterior siding is applied to the walls of the house and any decks and landscaping are being completed. Building a custom home can be a lengthier process, but the reward in having something created just for you and your family is well worth it. Happy building!
If you’re thinking about building a custom home, we’re here to help. We’ve been specializing in custom construction financing for over 100 years. To find out more about, contact one of our neighborhood branch managers or call us at 800-324-9375.